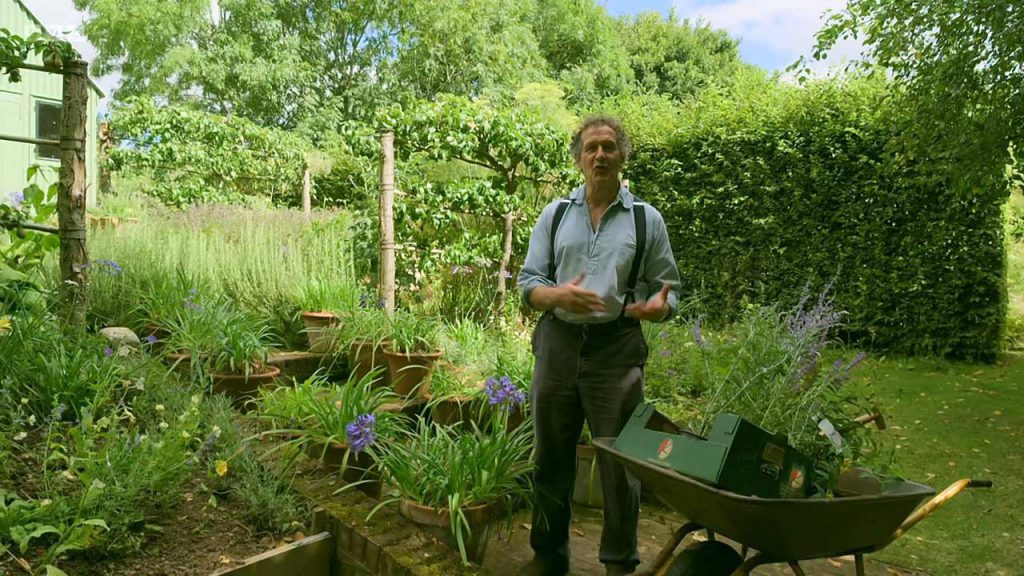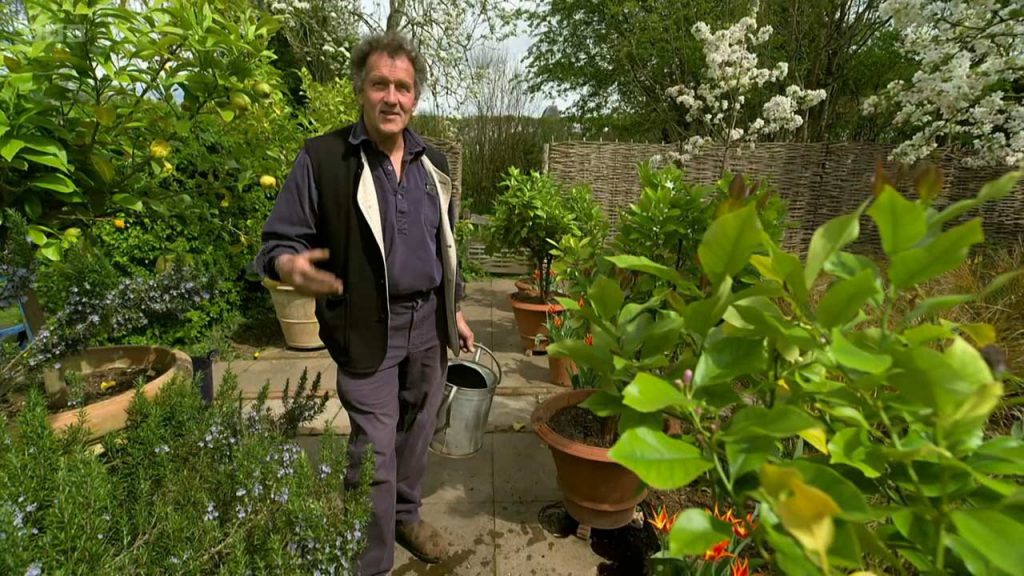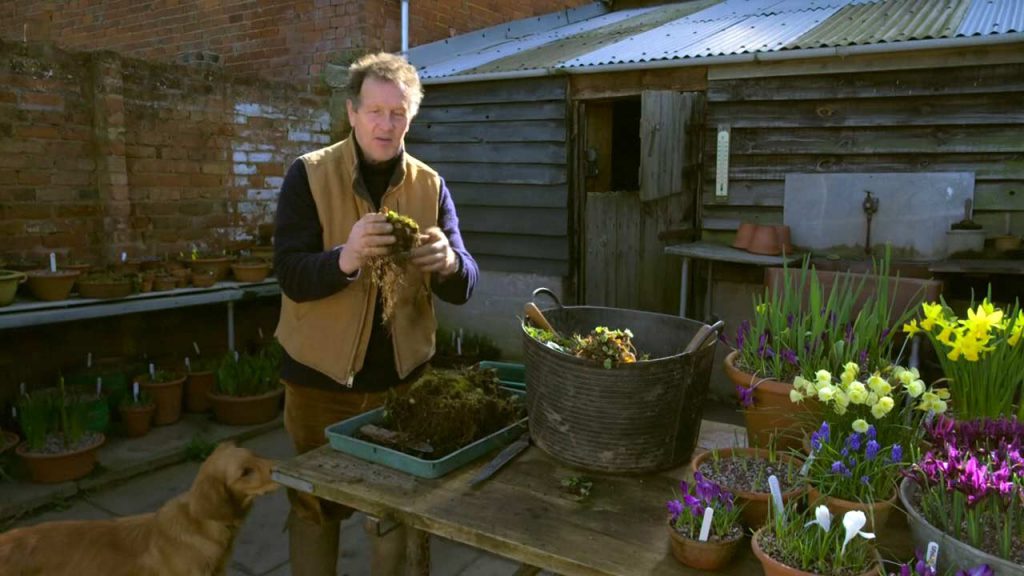
Gardeners World 2023 episode 2: As plants begin to show their early growth, Monty Don gets plenty of plants for free when he demonstrates how to make the most of herbaceous perennials. He also cuts back pelargoniums that have overwintered in the greenhouse and makes a start on sowing vegetables. Nick Bailey shares plans for his new garden in Northamptonshire and shows us how to create a container garden ideal for those on the move. Frances Tophill discovers more ways to use cut flowers as she visits a florist in Devon.
Sue Kent has plenty to do to start the growing season in her Swansea garden as she creates a white border and experiments with an unusual way to grow container vegetables. And Rachel de Thame celebrates the majestic hellebore. In Somerset, a gardener who has maximised the impoverished soil surrounding a derelict barn to create a romantic wilderness. And a hobby cactus grower from Reading who rescues and revives these intriguing plants.
Gardeners World is a long-running British gardening programme that started on 5 January 1968. It was described as “a weekly series for gardeners, advanced and beginners, throughout the British Isles”. It picked up where its forerunner – Gardening Club – left off, and also featured that programme’s much loved presenter, the knowledgeable and down-to-earth Percy Thrower. The programme covers various aspects of gardening, such as plants, wildlife, design, techniques, tips and advice. It also features visits to gardens around the country and interviews with experts and enthusiasts.
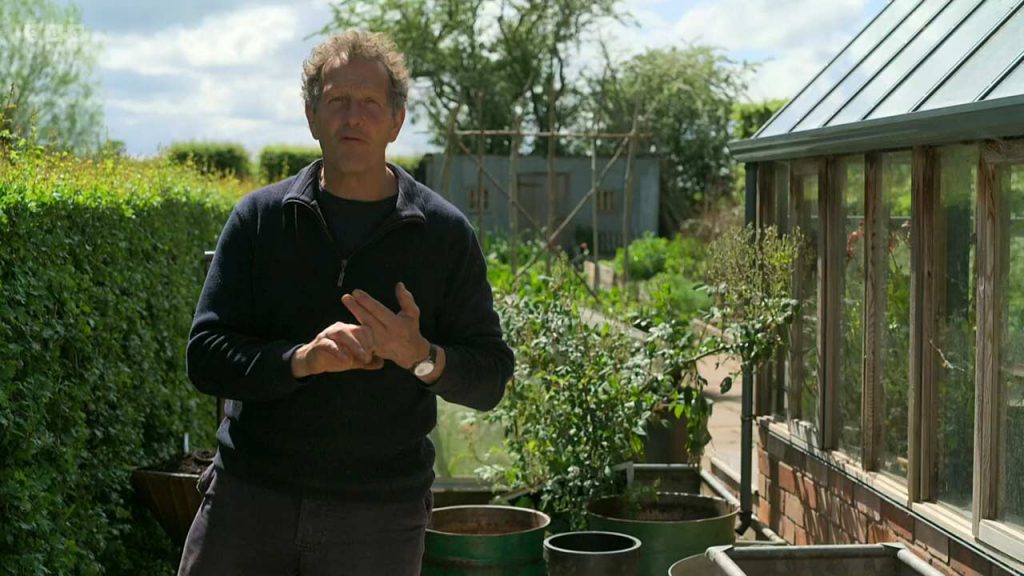
The current main presenter is Monty Don, who hosts the show from his own garden in Herefordshire. He is joined by other regular presenters such as Carol Klein, Adam Frost, Arit Anderson, Frances Tophill and Nick Bailey. Gardeners’ World is a popular and influential programme that celebrates the joy of gardening and inspires people to create beautiful and productive gardens of their own.
Gardeners World 2023 episode 2
Herbaceous perennials
Herbaceous perennials are a fantastic addition to any garden. They’re easy to care for, come in a variety of colors and sizes, and can provide year-round interest. In this post, we’ll explore how to make the most of herbaceous perennials in your garden.
Who should read this post?
This post is aimed at beginner and intermediate gardeners who want to learn more about herbaceous perennials. It’s also suitable for anyone who wants to add more color and interest to their garden. Why are herbaceous perennials so great? Herbaceous perennials are plants that die back in the winter but come back year after year. They’re an excellent choice for any gardener because they don’t require much maintenance once established. They also offer a wide range of colors, textures, and sizes, making them perfect for creating interest in your garden.
How to choose the right herbaceous perennial
When choosing an herbaceous perennial for your garden, there are several factors you need to consider:
1. Light requirements: Different plants have different light requirements, so it’s essential to choose a plant that will thrive in the conditions you have available.
2. Soil type: Just like light requirements, different plants prefer different soil types. Make sure you choose a plant that will grow well in your soil type.
3. Mature size: Herbaceous perennials come in all shapes and sizes; some can grow up to six feet tall while others stay under one foot tall! Make sure you choose a plant that will fit well into your space.
4. Bloom time: Some plants bloom early in the season while others bloom later on. Choose plants with staggered bloom times so that there is always something blooming in your garden throughout the growing season.
5. Color scheme: Consider what colors would complement or contrast with other plants or features already present within your landscape design plan.
Once you’ve considered these factors, you can start to choose the right herbaceous perennials for your garden.
Creating a stunning herbaceous perennial border
One of the best ways to make the most of herbaceous perennials is by creating a stunning border. A well-designed border can add interest and texture to your garden, and it’s easy to create!
Watch Gardeners World 2023 episode 2 or here’s how:
1. Choose your plants: Pick a variety of plants that will bloom at different times throughout the season. Group them together according to their light requirements and soil type.
2. Plan your layout: Sketch out where you want each plant to go in your border. Place taller plants at the back and shorter ones at the front.
3. Planting time: Once you’ve planned out your layout, it’s time to start planting! Make sure you follow the instructions for each plant carefully.
4. Maintenance: Once planted, make sure you water regularly until established and keep an eye out for pests or disease.
By following these steps, you’ll have a beautiful herbaceous perennial border that will provide interest all year round!
Using Herbaceous Perennials as Groundcovers
Another way to make use of herbaceous perennials is by using them as groundcovers. Groundcovers are low-growing plants that spread quickly and cover large areas with minimal maintenance required.
Here are some great options:
1. Sedum ‘Autumn Joy’: This sedum has beautiful pink flowers in late summer and fall, making it perfect for adding color when other plants have stopped blooming.
2. Hosta ‘Blue Mouse Ears’: These small hostas have blue-green leaves that add texture and interest to any garden bed or container planting scheme.
3. Ajuga reptans ‘Chocolate Chip’: This ajuga has deep purple foliage which makes it an excellent choice for adding contrast in any garden bed or container planting scheme while also being low-maintenance once established.
By using herbaceous perennials as groundcovers, you’ll be able to create a beautiful, low-maintenance garden that’s easy to care for and provides year-round interest. Herbaceous perennials are an excellent choice for any gardener looking to add interest and color to their garden. By choosing the right plants and using them in creative ways such as borders or groundcovers, you can create a stunning garden that’s easy to maintain. So why not give herbaceous perennials a try today?
How to Dry Flowers and Foliage: A Guide for Nature Lovers
If you’re a nature lover, you know that flowers and foliage are not only beautiful but also have the power to brighten up any space. However, their beauty is fleeting, and they eventually wither away. But what if we told you that you could preserve their beauty? Yes, it’s possible! Drying flowers and foliage is an easy way to extend their lifespan while adding a touch of natural charm to your home decor. Here’s how:
Preparing Your Flowers and Foliage for Drying
Before we dive into the different methods of drying flowers and foliage, let’s talk about how to prepare them. First, pick your flowers or foliage when they’re at their peak bloom or color. Avoid picking them on a rainy day or when they’re wet from dew as this will slow down the drying process.
Next, remove any leaves or stems that will be below the waterline in your vase as these can cause bacteria growth. Cut the stems at an angle with sharp scissors or pruning shears to allow for better water absorption. Finally, gather your flowers or foliage into small bunches (3-5 stems per bunch) and secure them tightly with rubber bands.
Drying Flowers and Foliage using Air-Drying Method
The air-drying method is one of the easiest ways of drying flowers and foliage. It involves hanging your flower bunches upside down in a dry place where there’s good air circulation. Here are the steps:
- Step 1: Find a dry place where there’s good air circulation such as an attic or unused closet.
- Step 2: Using string or twine, tie each flower bunch securely around its stem.
- Step 3: Hang each flower bunch upside down from hooks or hangers in your chosen location.
- Step 4: Leave them hanging until they’re completely dried out (usually takes about 2-3 weeks).
- Step 5: Once they’re dry, remove any leaves or debris and store them in a cool, dry place.
Drying Flowers and Foliage using Silica Gel
Silica gel is a desiccant that absorbs moisture from the air, making it an excellent tool for drying flowers and foliage. Here’s how to use it:
- Step 1: Purchase silica gel from your local craft store or online.
- Step 2: Fill a container with silica gel (enough to cover your flowers or foliage).
- Step 3: Place your flowers or foliage on top of the silica gel, making sure they’re not touching each other.
- Step 4: Carefully pour more silica gel over the flowers until they’re completely covered.
- Step 5: Seal the container tightly and leave it for about a week.
- Step 6: After a week, carefully remove your flowers or foliage from the container and brush off any remaining silica gel with a soft-bristled brush.
Drying Flowers and Foliage using Pressing – Gardeners’ World 2023 episode 2
Pressing is another popular method of drying flowers and foliage. It involves pressing them between two heavy objects such as books. Here’s how:
- Step 1: Choose heavy books that won’t warp when exposed to moisture (e.g., dictionaries, encyclopedias).
- Step 2: Line each page of the book with parchment paper to prevent ink transfer onto your flowers or foliage.
- Step 3: Arrange your flower or foliage on one page of the book, making sure they’re not touching each other.
- Step 4: Close the book gently but firmly so that your flower or foliage is pressed between two pages lined with parchment paper.
- Step 5: Stack more books on top of the closed book for added weight (you can also use bricks).
- Step 6 : Leave them in this position for about two weeks before removing them from between pages.
Drying flowers and foliage is an easy and fun way to preserve their beauty. Whether you choose the air-drying method, silica gel, or pressing method, the results are always stunning. So next time you’re out in nature and come across a beautiful flower or foliage that you’d like to keep forever, try drying it using one of these methods. You won’t be disappointed!