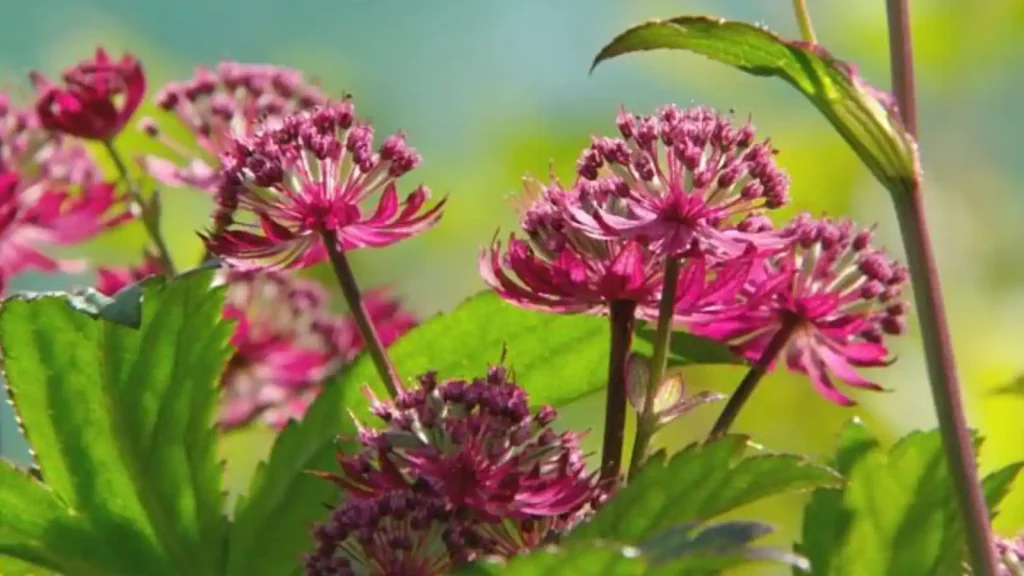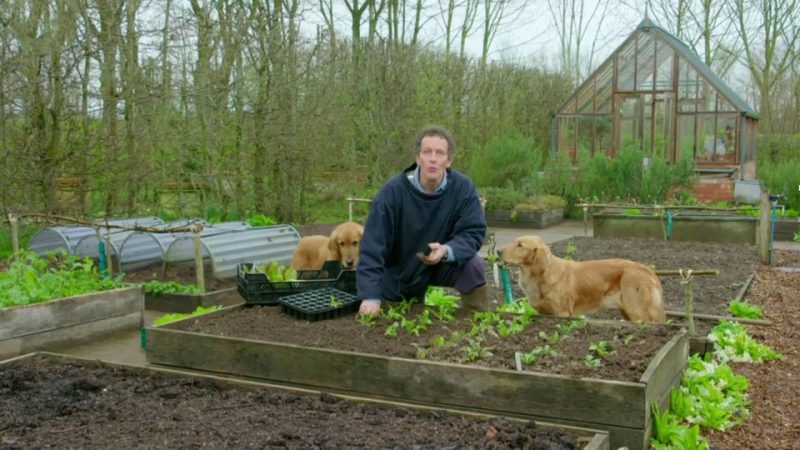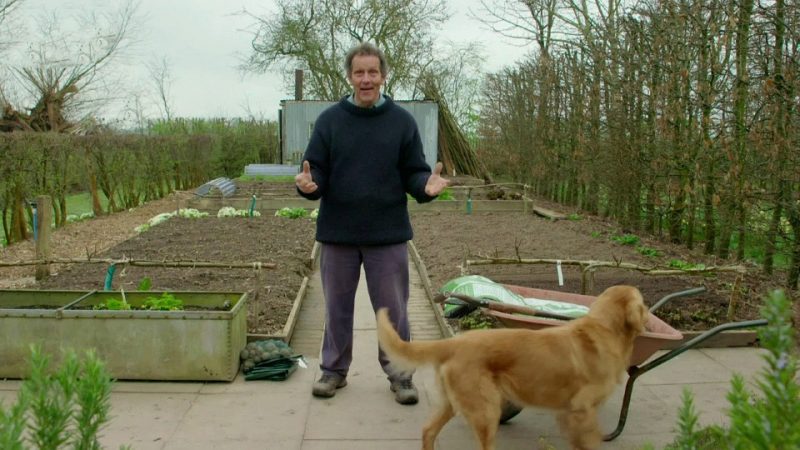
This week in Gardeners World ep 4 2017, Monty Don begins a brand new project when he starts a new soft fruit garden. He also plants new potatoes and divides herbaceous plants in the jewel garden. In the captivating fourth episode of Gardeners World, host Monty embarks on an exciting new project that promises to bring forth the bounties of nature. This time, his green fingers dive into the realm of soft fruit gardening, as he sets out to create a magnificent oasis bursting with luscious berries and delectable fruits.
With meticulous care and expertise, Monty guides viewers through the process of establishing a thriving soft fruit garden. From selecting the perfect varieties to preparing the soil and creating optimal growing conditions, every step is infused with his passion for gardening. Through Monty’s journey, novice and experienced gardeners alike gain valuable insights and inspiration for their own fruitful endeavors.
But the excitement doesn’t stop there. In this episode, Monty also turns his attention to the humble potato, as he sets out to plant a fresh batch of new potatoes. As the epitome of homegrown goodness, new potatoes hold a special place in many gardeners’ hearts. Monty shares his expert tips on variety selection, planting techniques, and nurturing these delightful tubers for a delicious harvest.
Frances visits an extraordinary tropical garden in Barbados which was developed from a collapsed cave, and we meet Chris Baines, a legend of gardening for wildlife, in his own small town garden. And as part of the programme’s 50th anniversary, Mark Lane offers his choice of the plant he thinks has had the most impact on British gardens over the last half century.
Gardeners World episode 4 2017
Bromeliads
The family Bromeliaceea are epiphytes originating from the southern United States, South America and West Indies, where they grow on trees, stumps and decaying branches. Their colourful bracts last several months, making them ideal house plants, particularly for a warm conservatory or glasshouse. Bromeliads are a diverse family of plants known scientifically as Bromeliaceae, consisting of over 3,000 species native to the tropical and subtropical regions of the Americas. They are well-known for their unique growth habits, vibrant colors, and striking foliage.
Bromeliads come in various shapes and sizes, from small, ground-dwelling plants to large, tree-dwelling varieties. Some of the most popular types of bromeliads include:
- Pineapple (Ananas comosus) – The pineapple is the most famous member of the bromeliad family, cultivated for its sweet and juicy fruit.
- Tillandsias (Tillandsia spp.) – Also known as “air plants,” these epiphytic bromeliads absorb nutrients and moisture from the air through their leaves rather than relying on roots. They can be found growing on trees, rocks, and other surfaces.
- Guzmania (Guzmania spp.) – These bromeliads are popular for their showy, long-lasting flower bracts that come in a variety of colors.
- Aechmea (Aechmea spp.) – Aechmea bromeliads have a rosette-shaped growth habit and striking, long-lasting flower spikes.
- Vriesea (Vriesea spp.) – Vriesea bromeliads are known for their attractive, flat flower spikes and colorful, patterned foliage.
Bromeliads can be grown both indoors and outdoors. They are generally low-maintenance plants that require well-draining soil or growing medium, bright indirect light, and moderate humidity. Most bromeliads also have a central “tank” formed by their overlapping leaves, which can store water and nutrients. It’s essential to keep this tank filled with water, but be careful not to overwater, as this can cause root rot.
Propagation of bromeliads is typically achieved through “pups” or offsets that grow around the base of the mother plant. Once the pups are large enough, they can be carefully separated from the parent plant and replanted to grow a new bromeliad.
Air layering of plants – Gardeners World episode 4 2017
Air layering is a method of propagating new trees and shrubs from stems still attached to the parent plant. The stem is wrapped with damp moss to encourage roots to form. Air layering is a propagation technique used to create new plants from existing ones. It is particularly useful for propagating plants that are difficult to root from cuttings or for plants with long, leggy stems that could benefit from being rejuvenated. Air layering encourages the parent plant to produce roots on a selected stem while it is still attached to the plant. Once the roots have formed, the stem can be removed and planted as a separate, new plant.
Here are the steps to perform air layering:
- Choose a healthy branch: Select a healthy, vigorous stem or branch on the plant, preferably one that is at least pencil-thick and has leaves or foliage near the tip.
- Remove leaves and make a cut: Remove any leaves and twigs in the area where you plan to air layer. Make an upward 45-degree angle cut about one-third to halfway through the stem. You can use a clean, sharp knife or pruning shears for this.
- Encourage rooting: To keep the cut open, insert a small, clean object like a toothpick or matchstick into the cut. This will help stimulate root growth. Some people also apply rooting hormone powder to the cut area to further encourage root development.
- Wrap the cut area: Moisten a handful of sphagnum moss or a suitable growing medium, and wrap it around the cut area, forming a ball. Ensure that the moss or medium completely covers the cut and is in direct contact with it.
- Secure the wrapping: Use plastic wrap or a plastic bag to cover the moss or medium, ensuring that it is well-sealed to maintain moisture. You can use twist ties, rubber bands, or tape to secure the plastic wrap or bag in place.
- Monitor root growth: Periodically check the air layer for root development. This can take anywhere from a few weeks to a few months, depending on the plant species and environmental conditions. You may see roots growing through the moss or medium and into the plastic wrap or bag.
- Sever and plant the new plant: Once a sufficient root system has developed, carefully remove the plastic wrap or bag and cut the stem below the root ball. Plant the newly rooted stem in a suitable potting mix, and care for it as you would any other new plant. Keep the soil consistently moist and provide bright, indirect light as the plant becomes established.
Air layering can be performed on various plant species, including fruit trees, ornamental shrubs, and some houseplants. This method can be especially useful for plants that are challenging to propagate through other means.
Grow your own : Potatoes – Gardeners World episode 4 2017
Potatoes are hugely versatile and are a staple ingredient of many meals in one form or another – boiled, mashed, chipped or baked. Potatoes are classified as being either earliest or main crops. Early potatoes are ready to harvest much sooner than main crops and are what we call new potatoes. Main crop potatoes are in the ground a lot longer, they have a better yield and produce larger tubers (potatoes). Growing your own potatoes is a rewarding and relatively simple process. Potatoes are versatile and can be grown in the ground, raised beds, or containers. Here is a step-by-step guide to grow potatoes:
- Choose seed potatoes: Purchase certified seed potatoes from a reputable nursery or garden center. Seed potatoes are small potatoes or potato pieces with at least one or two “eyes” (buds) that will grow into new plants.
- Chit the seed potatoes: About 2-4 weeks before planting, encourage the seed potatoes to sprout by placing them in a cool, bright, and frost-free area, with the eyes facing up. This process, known as “chitting,” helps to speed up the growth once they are planted.
- Prepare the planting area: Choose a location with well-draining soil and full sun exposure. If planting in the ground or raised beds, dig a trench about 4 inches (10 cm) deep. Space the trenches about 2-3 feet (60-90 cm) apart. For container gardening, select a large pot or grow bag with drainage holes, and fill it with high-quality potting soil.
- Plant the seed potatoes: Place the seed potatoes with the sprouted eyes facing up, about 12 inches (30 cm) apart in the trench, or plant 3-4 seed potatoes in a container. Cover the seed potatoes with about 3-4 inches (7-10 cm) of soil.
- Water and care: Keep the soil consistently moist but not waterlogged. As the plants grow, you will need to “hill” the soil or compost around the base of the plants, covering the stem and any exposed tubers. This prevents the tubers from turning green and inedible due to light exposure. Hilling also helps support the plants and encourages the formation of more tubers.
- Watch for pests and diseases: Potatoes can be susceptible to pests like Colorado potato beetles, aphids, and wireworms, as well as diseases such as blight and scab. Monitor your plants regularly and use appropriate control measures if necessary.
- Harvest the potatoes: New potatoes can be harvested about 10-12 weeks after planting when the plants start to flower. Gently dig around the base of the plant to collect the small tubers. For full-sized potatoes, wait until the foliage has yellowed and died back, usually about 16-20 weeks after planting. Carefully dig up the potatoes using a garden fork, being cautious not to damage the tubers.
- Store the potatoes: Allow the harvested potatoes to dry in a cool, dark, and well-ventilated area for a few days. This helps to cure the skin, making them more resistant to damage and rot during storage. Remove any remaining soil, and store the potatoes in a cool, dark, and well-ventilated area. Check the stored potatoes periodically and remove any that show signs of rot or spoilage.
Growing your own potatoes can be an enjoyable and productive gardening experience, providing you with a fresh, homegrown supply of this versatile vegetable.
Gooseberries, red and white currants – Gardeners World episode 4 2017
Gooseberries, red and white currants are easy-to-grow soft fruits that cope with a wide range of soil conditions. They crop best in a sunny position, but will tolerate partial shade. Gooseberries, red currants, and white currants are small, tart fruits that belong to the Ribes genus. They are relatively easy to grow and can be a rewarding addition to your garden. These berry-producing shrubs can be grown in USDA hardiness zones 3-8 and prefer slightly cooler climates with well-drained soil and full to partial sun exposure.
Here’s how to grow gooseberries, red currants, and white currants in your garden:
- Choose your plants: Purchase healthy, disease-resistant plants from a reputable nursery or garden center. You can find different varieties of gooseberries, red currants, and white currants, each with unique flavors and growth habits.
- Select the planting site: Choose a location with well-draining soil and full sun to partial shade. These fruit bushes prefer slightly acidic to neutral soil (pH 6.0-7.0).
- Planting: Space the plants about 4-5 feet (1.2-1.5 meters) apart to provide ample room for growth and air circulation. Dig a hole slightly larger than the root ball, and plant the shrub at the same depth as it was in the container. Backfill the hole with soil, and water the plant thoroughly to settle the soil around the roots.
- Watering and fertilizing: Keep the soil consistently moist, but avoid overwatering, as this can lead to root rot. During the growing season, apply a balanced, slow-release fertilizer according to the package instructions to promote healthy growth and fruit production.
- Pruning: Prune gooseberries, red currants, and white currants annually during the dormant season (late winter or early spring). Remove any dead, damaged, or diseased branches, and thin out the center of the bush to improve air circulation and sunlight penetration. For established plants, prune to maintain an open, vase-like shape and encourage new growth.
- Pest and disease control: Monitor your plants regularly for common pests such as aphids, sawflies, and scale insects, as well as diseases like powdery mildew and leaf spot. Use appropriate control measures when necessary to maintain healthy plants and protect your fruit crop.
- Harvesting: Gooseberries, red currants, and white currants typically ripen in mid-to-late summer. The fruit is ready to harvest when it is firm, plump, and fully colored. Harvest the berries carefully by hand or with small pruning shears, and store them in a cool place until you are ready to use them.
Gooseberries, red currants, and white currants can be eaten fresh or used to make jams, jellies, sauces, and desserts. By following the proper planting, care, and maintenance techniques, you can enjoy these flavorful berries in your home garden.
Encourage wildlife to your garden – Gardeners World episode 4 2017
Increasing the biodiversity of your plot doesn’t have to be hard, or compromise the way your garden looks. Encouraging wildlife to your garden not only benefits the ecosystem but also creates a vibrant and lively environment for you to enjoy. A diverse array of birds, insects, and small mammals can contribute to the health of your garden by pollinating plants, controlling pests, and maintaining soil fertility. Here are some ways to attract wildlife to your garden:
- Plant a variety of native plants: Incorporate a mix of native trees, shrubs, and flowering plants that provide food and shelter for different species. Choose plants that bloom at different times to ensure a continuous source of nectar and pollen for pollinators.
- Create habitat: Provide a range of habitats, such as dense shrubs, tall grasses, and leaf piles, for nesting, shelter, and overwintering. Birdhouses, bat boxes, and insect hotels can also provide safe and welcoming spaces for wildlife.
- Provide water: A shallow bird bath, pond, or small water feature can attract birds, amphibians, and insects to your garden. Ensure that the water is clean and shallow, with stones or a sloping edge for easy access. During winter, make sure the water source does not freeze completely.
- Plant a wildflower meadow or border: Wildflowers provide essential food sources for pollinators like bees, butterflies, and hoverflies. Sow a mixture of native wildflower seeds in a designated area of your garden or incorporate them into your existing flower beds.
- Install bird feeders: Bird feeders can provide supplemental food for birds, especially during the winter months when natural food sources are scarce. Offer a variety of foods, such as seeds, suet, and fruit, to attract different bird species.
- Avoid using pesticides and herbicides: These chemicals can harm beneficial insects and other wildlife. Opt for organic pest control methods, like introducing beneficial insects, using physical barriers, or employing manual removal of pests.
- Create a wildlife-friendly pond: If space allows, install a small pond to provide a habitat for amphibians, insects, and birds. Include a variety of aquatic plants and a shallow, sloping edge for easy access. Avoid stocking your pond with fish, as they can eat many of the invertebrates that are beneficial to your garden ecosystem.
- Leave some areas untidy: A slightly messy garden can be a haven for wildlife. Leave some areas with long grass, fallen leaves, and decaying wood, which can provide shelter and food for a variety of species.
- Create a compost heap: A compost heap not only recycles organic waste but also provides a habitat for insects, worms, and other small creatures. This, in turn, attracts birds and other animals that feed on them.
By implementing these strategies, you can create a thriving garden ecosystem that supports a diverse range of wildlife. You’ll enjoy the benefits of a healthy, balanced garden, as well as the pleasure of observing nature up close.