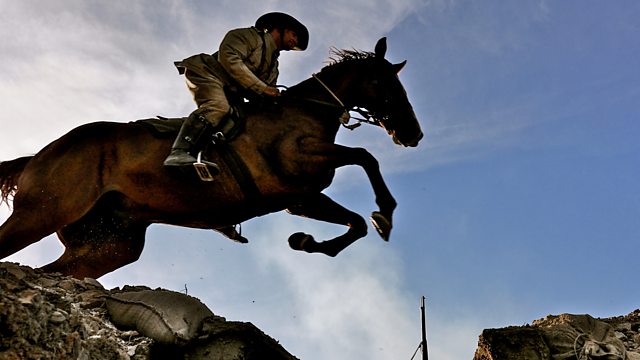
Great War Horses: the horses that provided the backbone of the Australian Light Horse regiments in World War I were popularly known as Walers. Bred for Australia’s tough Outback conditions, Walers were well-equipped for the harsh climate and terrain of the Middle East, where the ANZAC forces faced the armies of the Ottoman Empire.
Great War Horses is a powerful, moving account of the men and horses of the Australian Light Horse and the pivotal role they played in World War I at the Battle of Romani (1916), the celebrated Light Horse charge at the Battle of Beersheba (1917) and the capture of Damascus in 1918.
Great War Horses
Battle of Romani
The Battle of Romani was the last ground attack of the Central Powers on the Suez Canal at the beginning of the Sinai and Palestine Campaign during the First World War. The battle was fought between 3 and 5 August 1916 near the Egyptian town of Romani and the site of ancient Pelusium on the Sinai Peninsula, 23 miles (37 km) east of the Suez Canal. This victory by the 52nd (Lowland) Division and the Anzac Mounted Division of the Egyptian Expeditionary Force (EEF) over a joint Ottoman and German force, which had marched across the Sinai, marked the end of the Defence of the Suez Canal campaign, also known as the Offensive zur Eroberung des Suezkanals and the İkinci Kanal Harekâtı, which had begun on 26 January 1915.
This British Empire victory, the first against the Ottoman Empire in the war, ensured the safety of the Suez Canal from ground attacks and ended the Central Powers’ plans to disrupt traffic through the canal by gaining control of the strategically important northern approaches to it.
Battle of Beersheba
The Battle of Beersheba was fought on 31 October 1917, when the British Empire’s Egyptian Expeditionary Force attacked and captured the Yildirim Army Group garrison at Beersheba, beginning the Southern Palestine Offensive of the Sinai and Palestine campaign of World War I. Infantry from the 60th (London) and the 74th (Yeomanry) Divisions of the XX Corps from the southwest conducted limited attacks in the morning, then the Anzac Mounted Division (Desert Mounted Corps) launched a series of attacks against the strong defences which dominated the eastern side of Beersheba, resulting in their capture during the late afternoon.
Shortly afterwards, the Australian Mounted Division’s 4th and 12th Light Horse Regiments (4th Light Horse Brigade) conducted a mounted infantry charge with bayonets in their hands, their only weapon for mounted attack, as their rifles were slung across their backs. Part of the two regiments dismounted to attack entrenchments on Tel es Saba defending Beersheba while the remainder of the light horsemen continued their charge into the town, capturing the place and part of the garrison as it was withdrawing.


