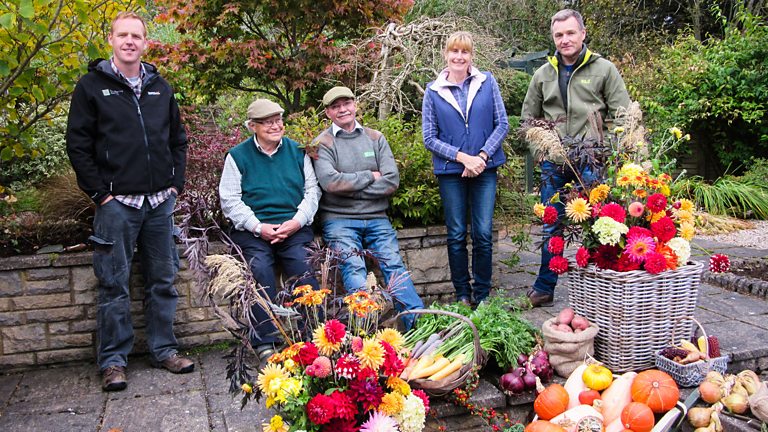
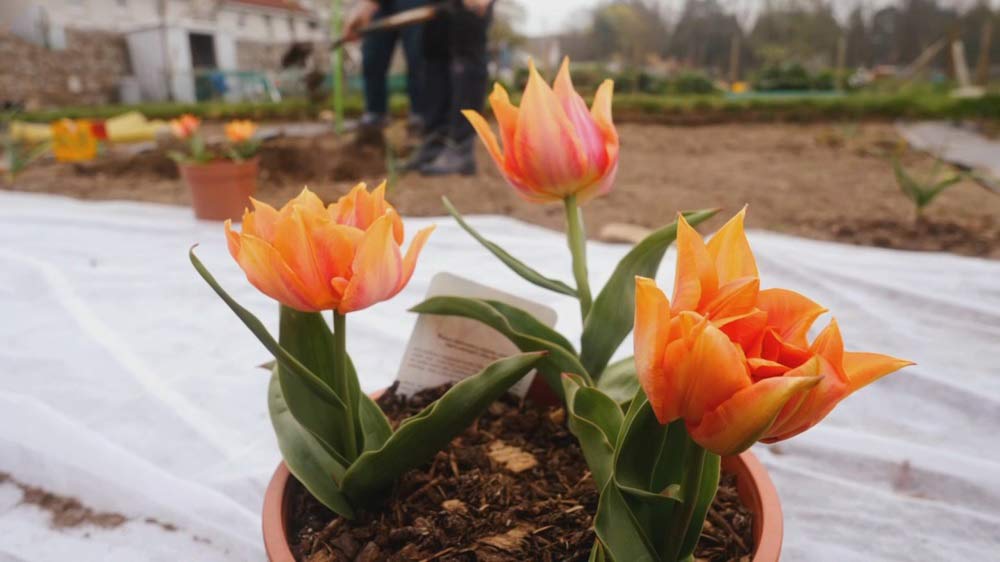
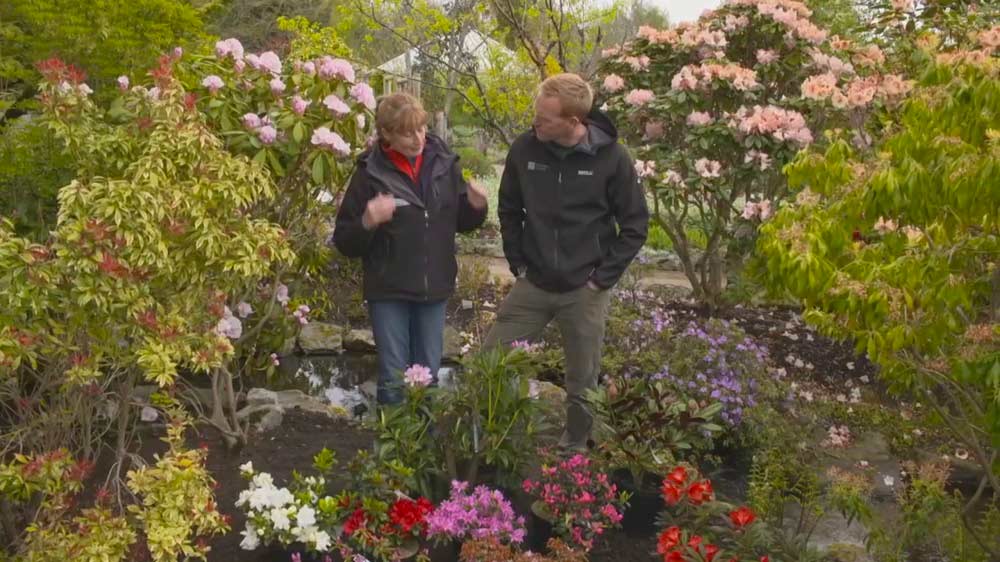
In Beechgrove Garden episode 12 2019: George takes a look at the summer bedding flower display. Meanwhile Carole starts sowing over wintering veg. Kirsty shows how to create a permanent, evergreen hanging basket – a succulent sphere that can hang indoors or out.
It is buzzing in Beechgrove as Brian and ‘butterfly man’ Anthony McCluskey attempt to count the butterflies in Brian’s no-mow meadow. Vera and Jimmy Chisolm have gardened on the edge of Nairn for 38 years and they have created an award-winning Scottish cottage garden with views towards the beautiful Cawdor Hills. Carole goes to take a look.
The Beechgrove Garden episode 12 2019
Over Winter Veg
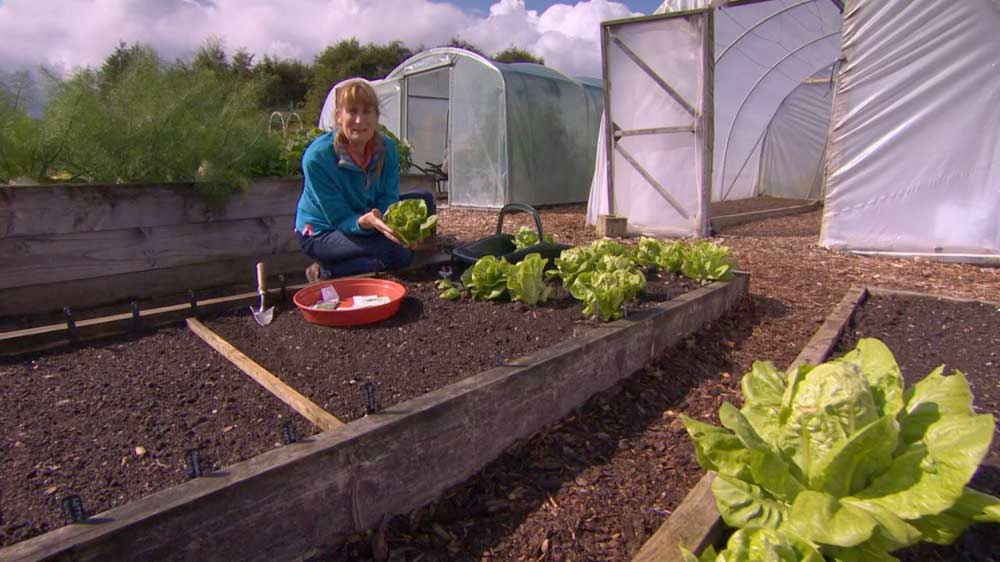
In the raised beds, Carole was cutting some Lettuce ‘Little Gem’. In order to have a constant supply of produce throughout the autumn and winter, Carole was encouraging us to fill the empty spaces created by harvesting, with more hardy outdoor crops. Carole sowed Lettuce ‘Winter Density’, Mizuna and Claytonia into the outdoor raised beds. Japanese varieties of stir fry vegetables prefer cooler conditions and so do well as an overwinter crop.
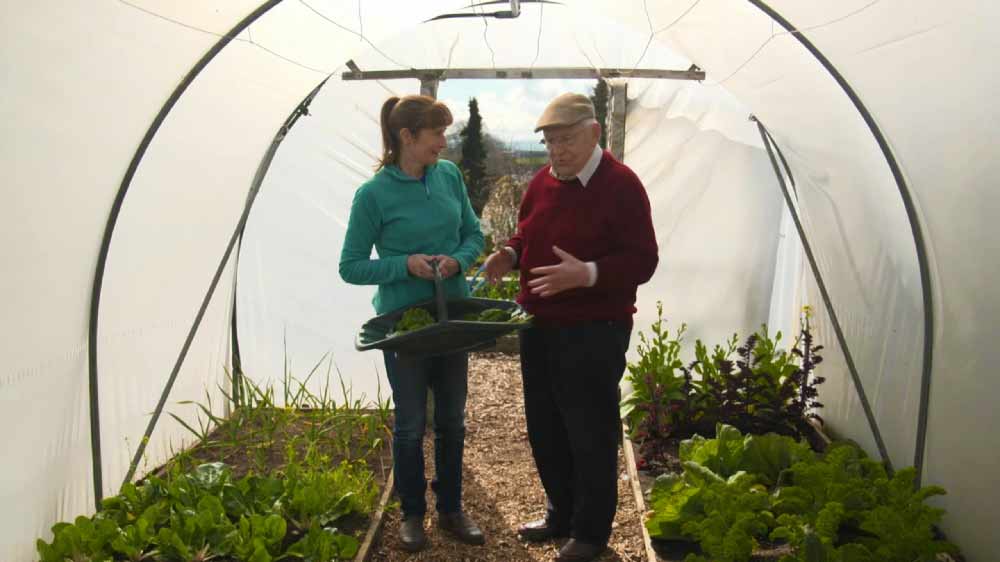
You could also try planting vegetable plug plants of spring cabbage and kale later to use the growing space over winter. Even into October you can be planting hard neck varieties of garlic. At Beechgrove we will also be making use of the space in the poly tunnels over winter. The important thing is, not to leave any bare soil and plan ahead for the seasons to get year round cropping from your veg patch.
Rosemary Cuttings
It’s the time of year to start taking cuttings. Kirsty showed how to propagate a rosemary plant – an easy herb to take cuttings from.
- Fill a propagator or pot with a gritty compost mix.
- With a pair of secateurs cut off a 10-15cm long piece of fresh new growth from the top of the plant. This part of the plant roots more easily as it is full of hormones.
- Strip the leaves from the lower part of the cutting to reduce moisture loss and prevent them rotting under the soil.
- Cut below a leaf node (the point from which the leaves grow) with a sharp knife for a clean cut.
- Make a hole in the compost with a dibber and insert the clean stem of the cutting, keeping the leaves above soil level to avoid them rotting.
- Repeat above steps until your pot or propagator has 6 or 7 cuttings in it.
- Water from above to settle the soil around the cuttings.
- Put the lid on your propagator or put a plastic bag over your pot to conserve moisture.
- Place your cuttings in a well-lit spot, out of direct sunlight, outdoors or indoors.
