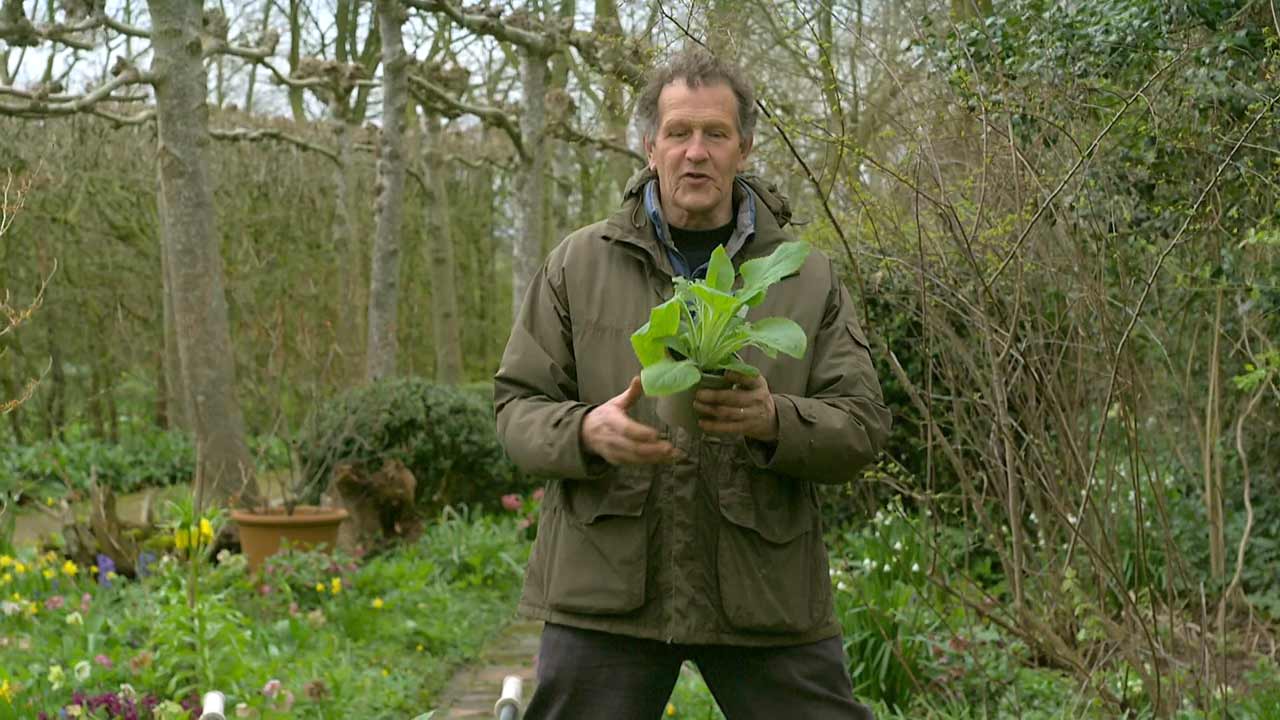
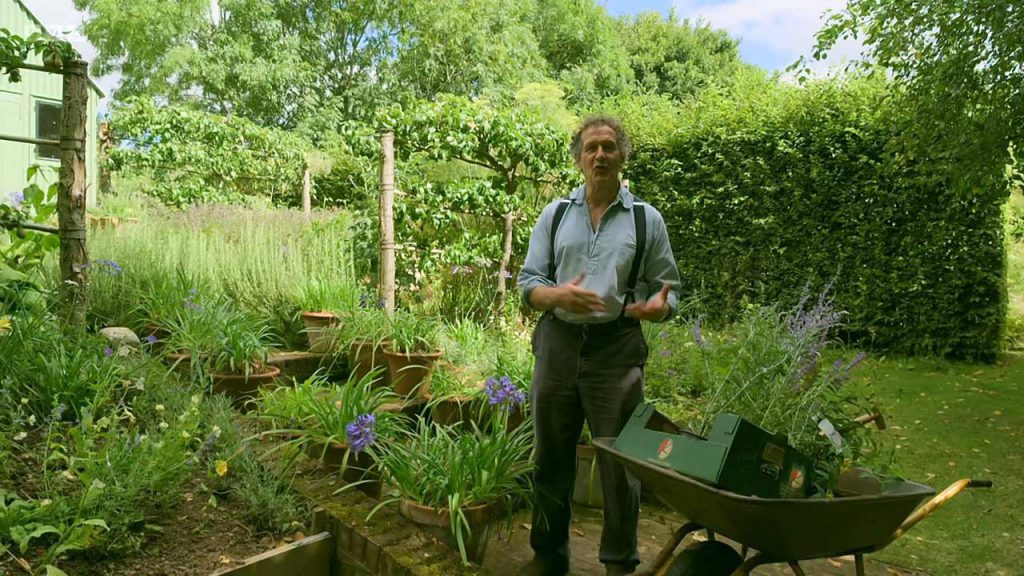
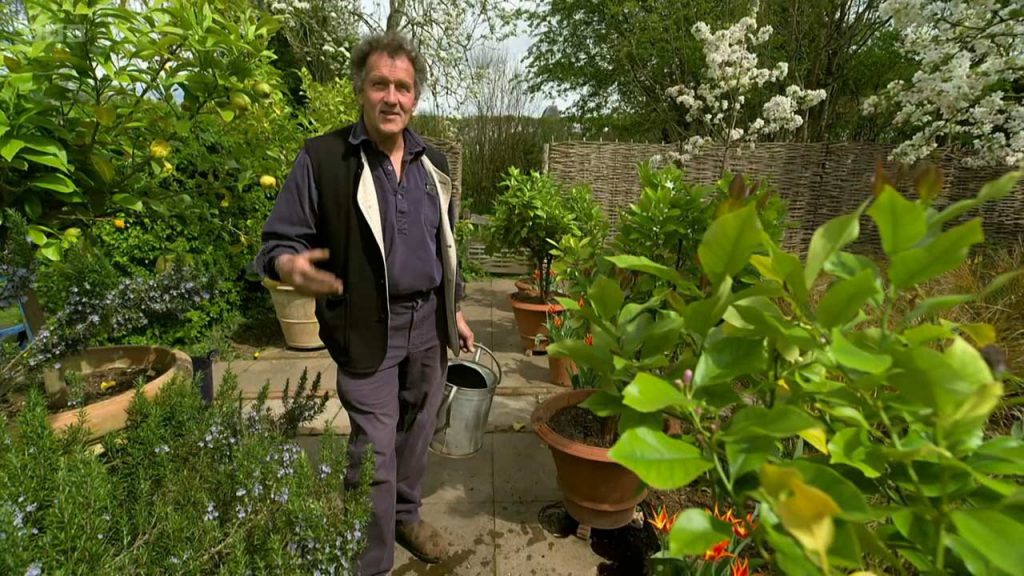
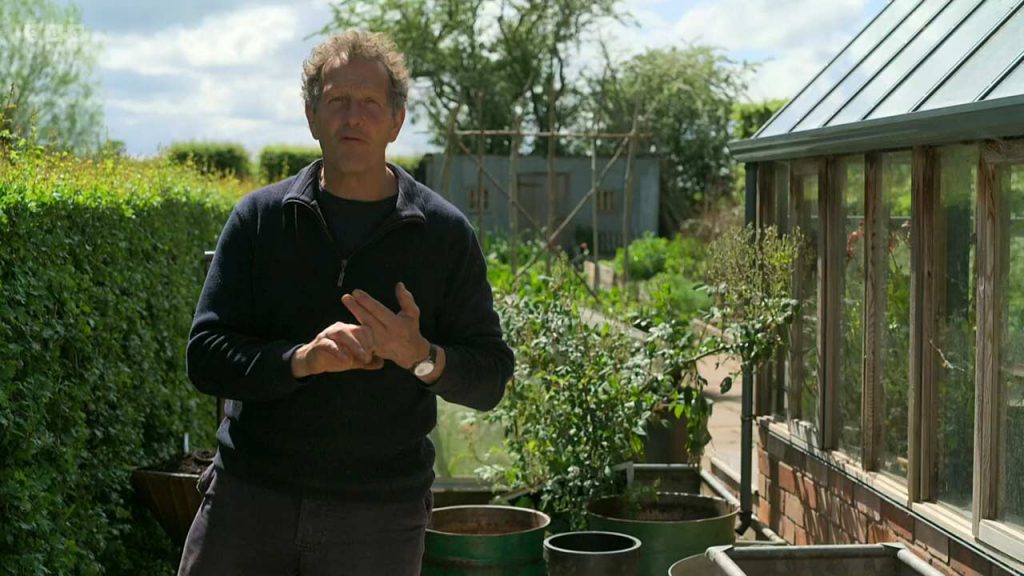
Gardeners World 2023 episode 4: Monty adds some interest to the spring garden. He also sows peas and shallots, has some thrifty tips for petunias, and plants lilies in pots. Carol Klein visits Mothecombe Gardens in Devon, which has been designed specifically for pollinators, with swathes of nectar-rich daisies and lavender. Arit Anderson joins a group of young carers at a community garden in West Sussex, where they go for respite, friendship and fun. Plus more of the films that have been sent in by viewers.
Gardeners World is a long-running British gardening programme that started on 5 January 1968. It was described as “a weekly series for gardeners, advanced and beginners, throughout the British Isles”. It picked up where its forerunner – Gardening Club – left off, and also featured that programme’s much loved presenter, the knowledgeable and down-to-earth Percy Thrower. The programme covers various aspects of gardening, such as plants, wildlife, design, techniques, tips and advice. It also features visits to gardens around the country and interviews with experts and enthusiasts.
The current main presenter is Monty Don, who hosts the show from his own garden in Herefordshire. He is joined by other regular presenters such as Carol Klein, Adam Frost, Arit Anderson, Frances Tophill and Nick Bailey. Gardeners’ World is a popular and influential programme that celebrates the joy of gardening and inspires people to create beautiful and productive gardens of their own.
Gardeners World 2023 episode 4 – Sowing Peas
Sowing Peas: A Comprehensive Guide to Growing Your Own Garden Gem
Introduction to Sowing Peas
Growing your own vegetables is a rewarding and cost-effective way to eat healthy, fresh produce. One of the most popular choices for home gardeners is peas, which are not only delicious but also packed with nutrients. In this article, we’ll explore the art of sowing peas, including best practices, tips, and tricks to ensure a bountiful harvest.
Why Grow Peas?
Peas are a versatile and nutritious addition to any garden. Their high protein content makes them an excellent source of plant-based nutrition, and they’re also rich in fiber, vitamins, and minerals. Additionally, peas are known for their symbiotic relationship with nitrogen-fixing bacteria, which can help improve soil fertility.
Choosing the Right Pea Variety
Before you begin sowing peas, it’s essential to select the right variety for your garden. There are three main types of peas:
- Garden peas, also known as shelling peas, are grown for their sweet, plump seeds.
- Snow peas, with their tender, edible pods, are popular in stir-fries and salads.
- Snap peas, a cross between garden and snow peas, feature both tasty seeds and crunchy pods.
Consider factors such as growing space, climate, and intended use when choosing your pea variety.
Mastering the Art of Sowing Peas
To achieve a bountiful harvest, it’s important to follow proper sowing techniques. Let’s delve into the steps for successful pea planting.
Preparing the Soil
Peas prefer well-draining soil with a pH between 6.0 and 7.5. Before planting, amend your soil with compost or aged manure to improve fertility and drainage. If your soil is heavy clay, consider adding sand or perlite to enhance aeration and drainage.
Sowing Pea Seeds
Peas should be sown in early spring, as soon as the soil can be worked. Here’s a step-by-step guide to sowing peas:
- Soak seeds overnight in water to speed up germination.
- Plant seeds 1-2 inches deep and 2-3 inches apart in rows, with at least 18-24 inches between rows.
- Water gently but thoroughly after planting, and keep the soil consistently moist until seedlings emerge.
- Thin seedlings to 4-6 inches apart once they reach 2-3 inches in height.
Supporting Pea Growth
Many pea varieties require support to prevent them from sprawling on the ground. Erect trellises, stakes, or nets for climbing varieties, and secure bush varieties with low cages or stakes.
Caring for Your Pea Plants – Gardeners’ World 2023 episode 4
A successful pea harvest requires diligent care throughout the growing season.
Watering and Fertilizing
Peas need consistent moisture, so water regularly to maintain even soil moisture. Avoid overwatering, which can lead to root rot. As nitrogen-fixing plants, peas generally don’t require additional nitrogen fertilizer. However, a side dressing of compost midway through the growing season can provide essential nutrients.
Pest and Disease Control
Peas can be susceptible to pests like aphids and diseases such as powdery mildew. Monitor plants closely and address issues promptly with organic or chemical controls. Encourage beneficial insects like ladybugs and lacewings to help control aphid populations.
Harvesting Your Pea Bounty – Gardeners’ World 2023 episode 4
Pea harvesting typically begins 60-70 days after planting, depending on the variety. Harvest garden peas when pods are full and round, snow peas before seeds begin to develop, and snap peas when pods are plump but still crisp. Regular harvesting encourages plants to produce more pods, extending the harvest season.
Storing and Preserving Your Pea Harvest
Freshly picked peas can be stored in the refrigerator for up to a week. For longer storage, consider blanching and freezing them, or try canning or dehydrating methods to preserve their flavor and nutritional value.
Embracing the Art of Growing Peas
Sowing peas in your garden is a rewarding endeavor that yields both nutritional and environmental benefits. By following the guidelines outlined in this article, you’ll be well on your way to mastering the art of growing peas and enjoying a bountiful harvest.
Gardeners’ World 2023 episode 4 – Grow Show-Stopping Shallots in Your Garden
A Comprehensive Guide to Growing Sows Shallots
Gardening enthusiasts, listen up! If you’re looking to add a new, impressive crop to your garden, sows shallots may be the perfect choice. These versatile, flavor-packed onions are an incredible addition to any vegetable garden. In this comprehensive guide, we’ll cover everything you need to know to grow show-stopping shallots, from planting techniques to harvesting tips.
Understanding the Unique Appeal of Sows Shallots
Shallots, a close relative of the onion, are an essential ingredient in many gourmet recipes. The subtle, yet rich flavor they bring to dishes make them a sought-after crop for gardeners and chefs alike. Sows shallots, in particular, are prized for their larger size and exceptional taste. By incorporating them into your garden, you’ll not only enjoy a bountiful harvest but also elevate your culinary creations.
Choosing the Right Variety for Your Garden
Before diving into the world of sows shallots, it’s crucial to select the appropriate variety for your region and climate. There are several types to choose from, each with its own distinct characteristics. Some popular varieties include:
French Red: Known for its vibrant red color and robust flavor.
Dutch Yellow: A milder, sweeter variety with a golden hue.
Longor: Large, elongated bulbs with a pronounced taste.
Be sure to research which variety will thrive best in your specific conditions to ensure a successful harvest.
Planting Your Sows Shallots: Tips and Techniques
Once you’ve chosen your variety, it’s time to get planting! Follow these steps to set your shallots up for success:
Prepare the soil: Shallots prefer well-draining, fertile soil with a pH between 6.0 and 7.0. Add organic matter, such as compost or well-rotted manure, to enrich the soil before planting.
Timing is key: Plant shallots in late fall or early spring, depending on your region’s climate. In colder climates, opt for spring planting, while warmer areas can support fall planting.
Planting depth and spacing: Plant shallot sets (small bulbs) about 1 inch deep and 6-8 inches apart in rows. Space rows about 12-18 inches apart for optimal growth.
Water wisely: Water your shallots regularly, keeping the soil consistently moist but not waterlogged. Overwatering can lead to rot, so be mindful of your watering habits.
Providing Proper Care for Your Shallots
As your shallots grow, they’ll require some additional attention to ensure a plentiful harvest. Follow these tips for optimal growth:
Weed control: Keep your shallot beds free of weeds, which can compete for nutrients and water.
Fertilize: Apply a balanced, slow-release fertilizer in the spring to promote strong growth.
Mulch: Apply a layer of organic mulch, such as straw or shredded leaves, to help retain moisture and suppress weeds.
Harvesting and Storing Your Sows Shallots
After months of hard work and dedication, it’s time to reap the rewards of your labor! Harvest your shallots when the tops begin to yellow and fall over, typically 90-120 days after planting. Gently lift the bulbs from the soil using a garden fork, taking care not to damage them.
Allow your harvested shallots to cure in a warm, dry, and well-ventilated area for 2-3 weeks. Once the tops and roots have dried, trim them back, leaving about an inch of stem. Store your cured shallots in a cool, dry, and dark location with good air circulation, such as a mesh bag or open-weave basket. Properly stored shallots can last up to 6 months, allowing you to enjoy the fruits of your labor long after harvest.
Using Your Shallots in Delicious Recipes
Now that you have an abundance of homegrown sows shallots, it’s time to put them to good use in your kitchen. Shallots are incredibly versatile and can be used in a wide variety of dishes, from savory sauces to mouthwatering roasts. Here are a few recipe ideas to inspire your culinary adventures:
- Caramelized Shallot Pasta: A rich, flavorful pasta dish featuring caramelized shallots and a creamy sauce.
- Roasted Shallots with Balsamic Glaze: A simple, yet elegant side dish perfect for special occasions.
- Shallot Tarte Tatin: A savory twist on the classic French dessert, featuring caramelized shallots atop a golden, flaky pastry.
With these helpful tips and techniques, you’re now well-equipped to grow your very own show-stopping sows shallots. Get ready to enjoy the incredible flavor and satisfaction that come with cultivating these gourmet gems.
The Ultimate Guide to Lavenders: Growing, Caring, and Enjoying AGM Award-Winning Varieties – Gardeners’ World 2023 episode 4
Lavenders are renowned for their fragrance, beauty, and versatility in the garden. With a plethora of varieties holding the prestigious RHS Award of Garden Merit (AGM), it’s easy to see why they remain popular among gardeners. In this comprehensive guide, we will explore the top AGM lavender varieties, delve into the secrets of their successful cultivation, and offer tips for their ongoing care.
Top 10 AGM Lavender Varieties
These exceptional AGM lavender varieties exhibit outstanding qualities, making them the perfect choices for your garden:
- Lavandula angustifolia ‘Hidcote’: With deep purple-blue flowers, this compact variety is ideal for small gardens, borders, and containers.
- Lavandula x intermedia ‘Grosso’: Boasting long stems and abundant violet-blue flowers, ‘Grosso’ is perfect for cut flowers and lavender oil production.
- Lavandula angustifolia ‘Munstead’: Early flowering and compact, ‘Munstead’ features profuse, light purple blooms and is perfect for rockeries or small spaces.
- Lavandula x intermedia ‘Alba’: A stunning white-flowering variety, ‘Alba’ brings elegance and contrast to the garden.
- Lavandula angustifolia ‘Rosea’: With soft pink flowers, this delicate variety adds a romantic touch to any garden.
- Lavandula x intermedia ‘Provence’: Known for its strong fragrance and abundant, long-stemmed flowers, ‘Provence’ is a popular choice for lavender oil production.
- Lavandula stoechas ‘Anouk’: This French lavender variety has distinctive purple flowerheads topped with violet bracts, creating a striking appearance.
- Lavandula angustifolia ‘Imperial Gem’: With rich, deep blue flowers, this compact variety is ideal for borders and containers.
- Lavandula x chaytoriae ‘Richard Gray’: Showcasing silvery-gray foliage and deep purple blooms, this variety adds unique color and texture to the garden.
- Lavandula angustifolia ‘Little Lady’: A dwarf variety, perfect for containers or small gardens, ‘Little Lady’ displays masses of light purple flowers.
Lavender Planting and Site Selection
To ensure success with your lavender plants, follow these essential planting tips:
- Sunlight: Lavenders thrive in full sun, requiring a minimum of 6 hours of direct sunlight per day.
- Soil: Well-drained, slightly alkaline soil with a pH of 6.5-7.5 is ideal. Avoid waterlogged or clay soils.
- Spacing: Allow 18-24 inches between plants to provide adequate airflow and prevent disease.
- Planting depth: Plant lavender at the same depth as it was in the container, ensuring the crown sits just above the soil surface.
- Mulch: Use gravel or crushed stones to mulch around plants, helping to improve drainage and discourage excess moisture.
Lavender Care and Maintenance
Watering
Lavenders are drought-tolerant and require minimal watering. Water newly planted lavenders regularly until established, then reduce frequency, only watering during prolonged dry spells. Overwatering can lead to root rot and other diseases.
Pruning
Regular pruning promotes healthy growth and maintains the shape of your lavender plants. Prune in late summer or early fall, after flowering has finished. Remove spent flower stems and trim back approximately one-third of the plant’s foliage, avoiding cutting into the woody base.
Fertilizing
Lavenders typically do not require additional fertilization. However, if your soil is poor, you can apply a slow-release, balanced fertilizer in the spring to promote growth. Avoid excessive nitrogen, as it can lead to leggy growth and reduced flower production.
Pest and Disease Control
Lavenders are generally pest-resistant, but some common issues may arise:
- Aphids: Use insecticidal soap or neem oil to control aphids on your lavender plants.
- Whiteflies: Employ yellow sticky traps or introduce beneficial insects, such as ladybugs or lacewings, to control whitefly populations.
- Root rot: Ensure proper drainage and avoid overwatering to prevent root rot. If you notice symptoms, remove and dispose of the affected plants.
Lavender Uses and Benefits
Lavender offers a myriad of uses and benefits, both in the garden and beyond:
- Aromatic and culinary: Lavender’s distinctive fragrance makes it perfect for sachets, potpourri, and essential oil production. Its flowers can also be used in cooking, adding a unique flavor to dishes like shortbread, ice cream, and lemonade.
- Pollinator attractant: Lavenders are beloved by bees, butterflies, and other pollinators, making them an excellent addition to a pollinator-friendly garden.
- Landscape design: With their diverse colors, sizes, and shapes, lavenders can be used to create stunning borders, hedges, or container displays.
In conclusion, lavenders are a valuable addition to any garden, offering beauty, fragrance, and versatility. By selecting AGM award-winning varieties and following our planting and care tips, you can ensure your lavenders flourish for years to come.
In Gardeners’ World 2023 episode 4 you will find answers to this questions:
- How to sow peas?
- What are the different pea varieties?
- How to care for pea plants?
- When to harvest peas?
- How to store and preserve peas?
- What are sows shallots?
- How do you grow sows shallots?
- When should you plant and harvest sows shallots?
- How do you store sows shallots after harvest?
- How do grow lavender?


